Quest for Coffee (10) | 5 Ways to Improve Latte Art Magic
Latte art magic is aesthetically potent and incredibly mesmerising, and I most certainly want to improve my latte art magic skills. I thought about how my magic strengthened over the last few months. Here are my 5 recommended ways to improve your latte art magic.
If you are new to my Quest for Coffee, welcome! But where have you been??
Quick, get your full dose of my Quest for Coffee here!
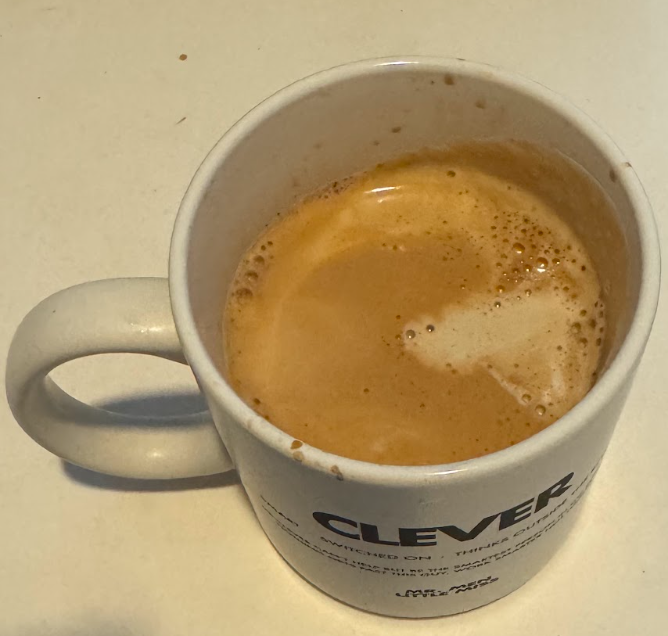
I know you probably haven’t tried doing this, but practicing latte art magic is hard. Once you’ve nailed the espresso shot and the milk steaming part, you’re in for the final boss of the game.
It’s the ‘make it or break it’ part – the pouring.
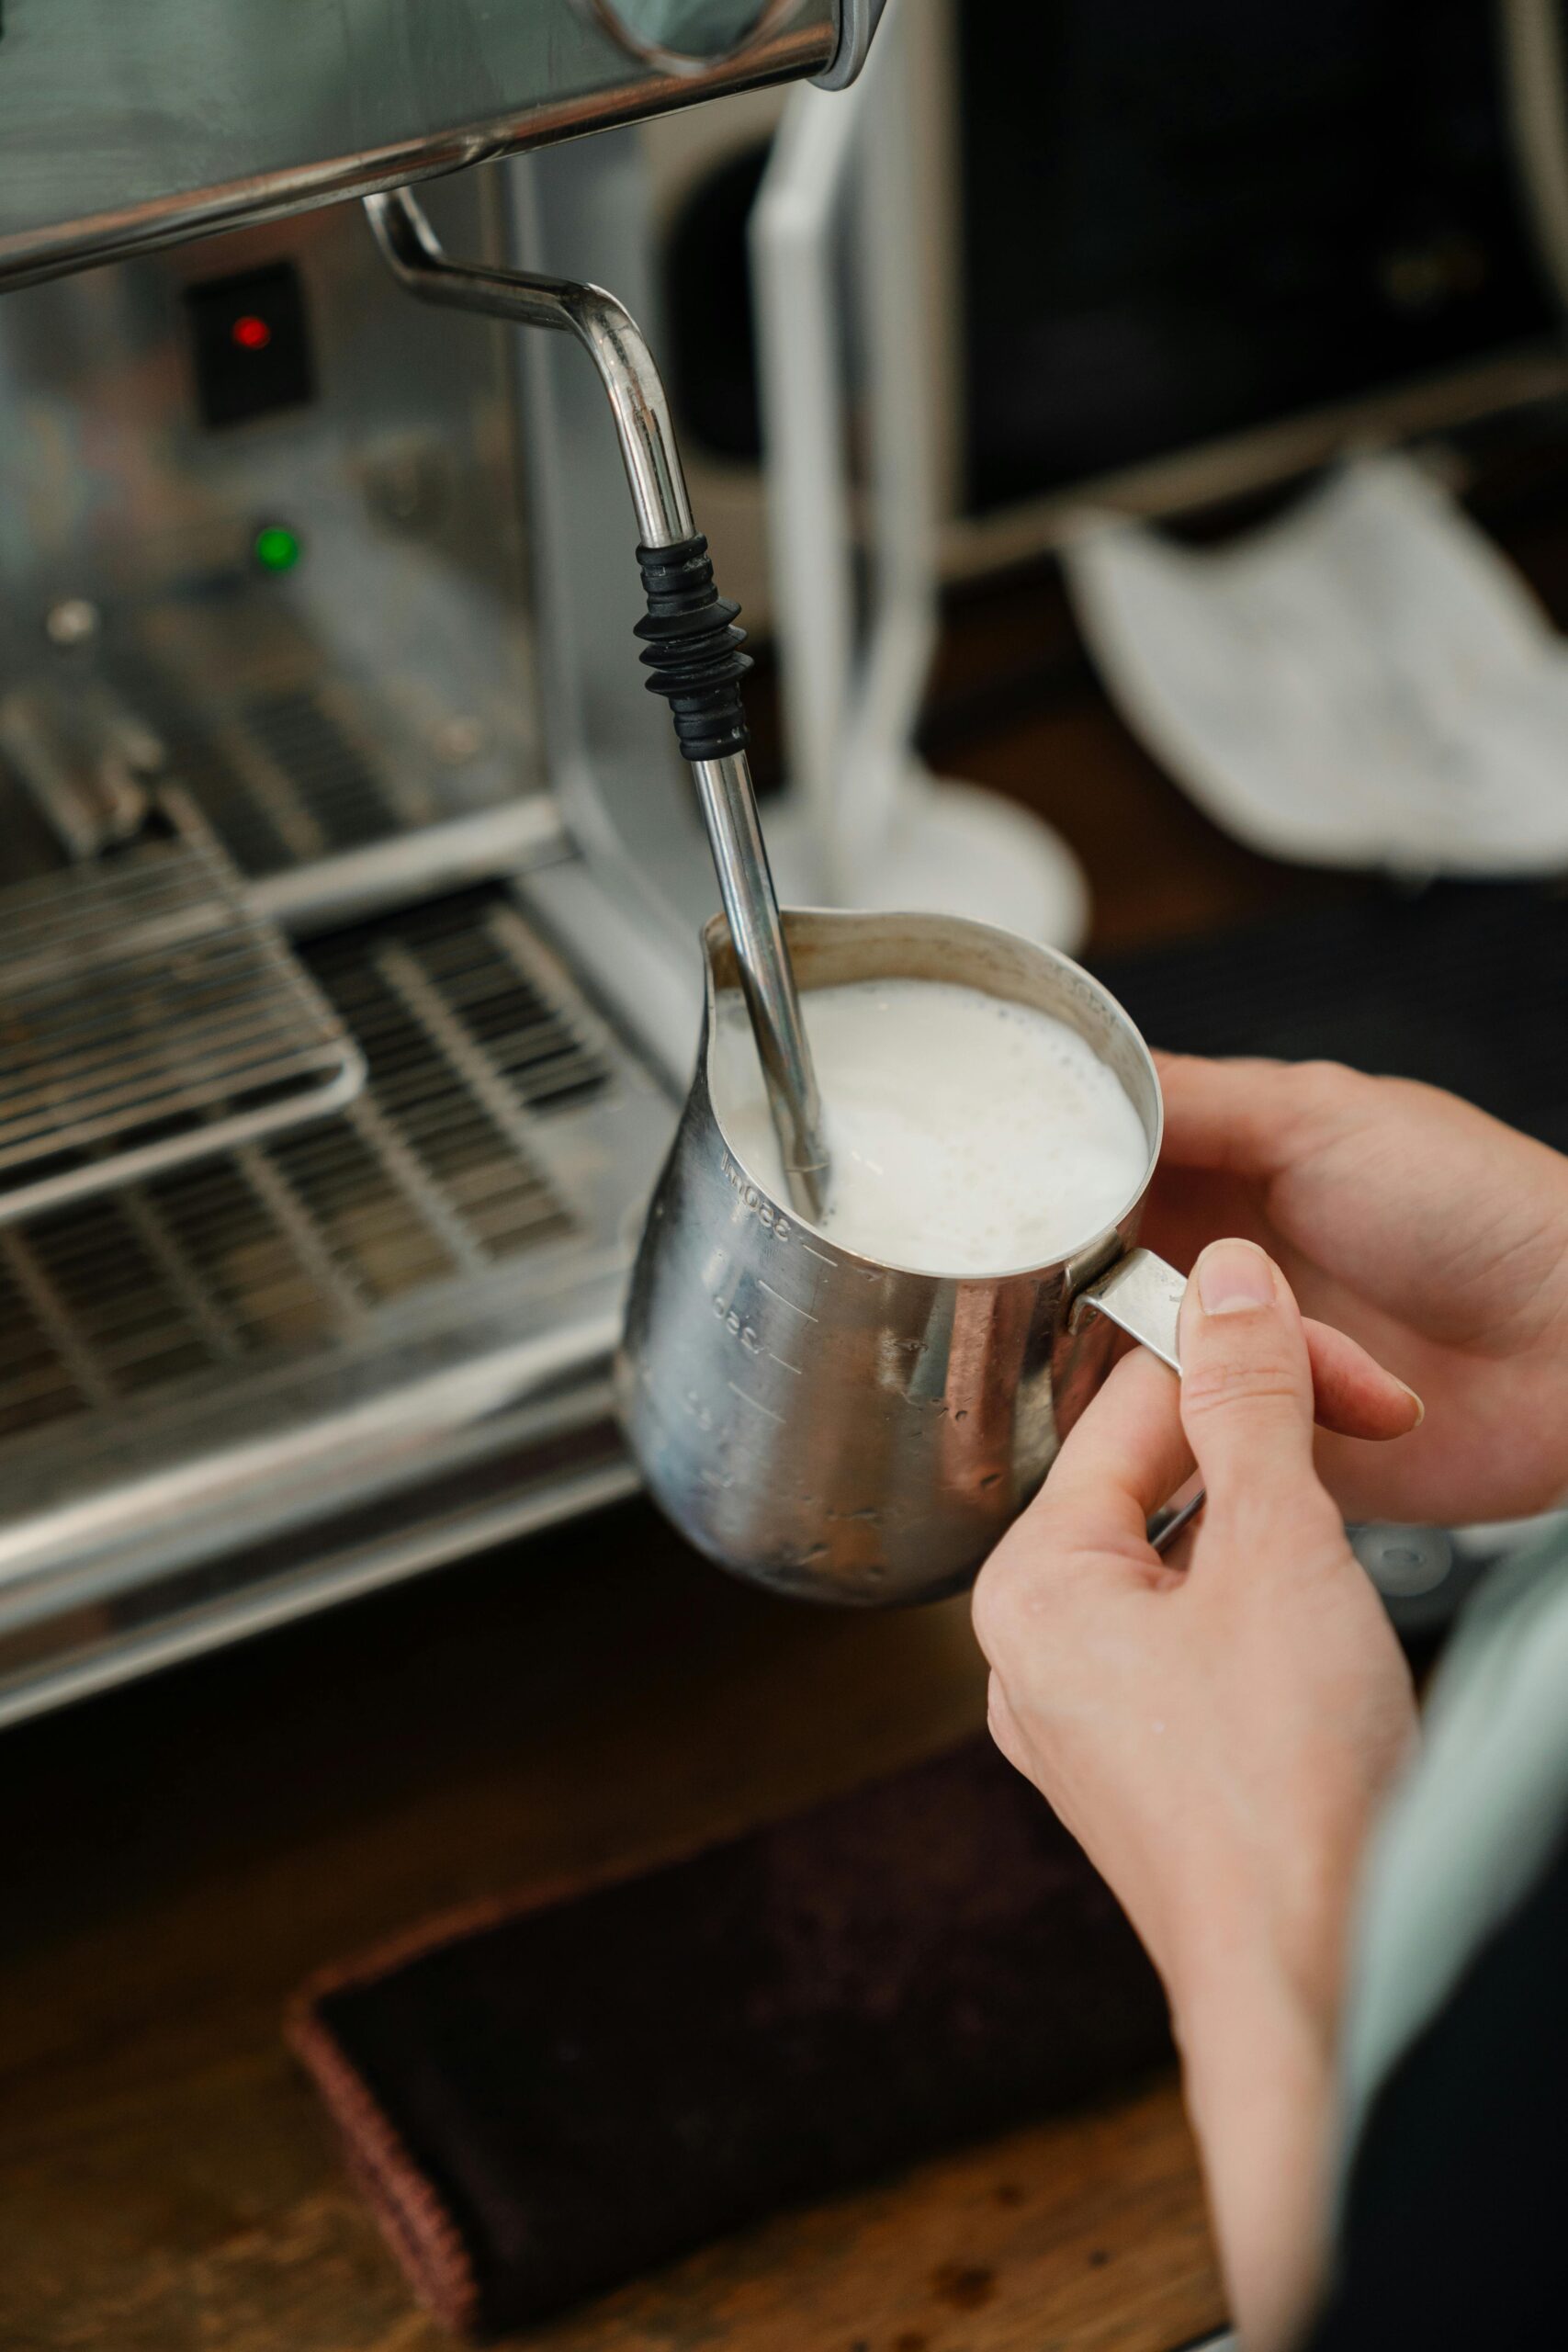
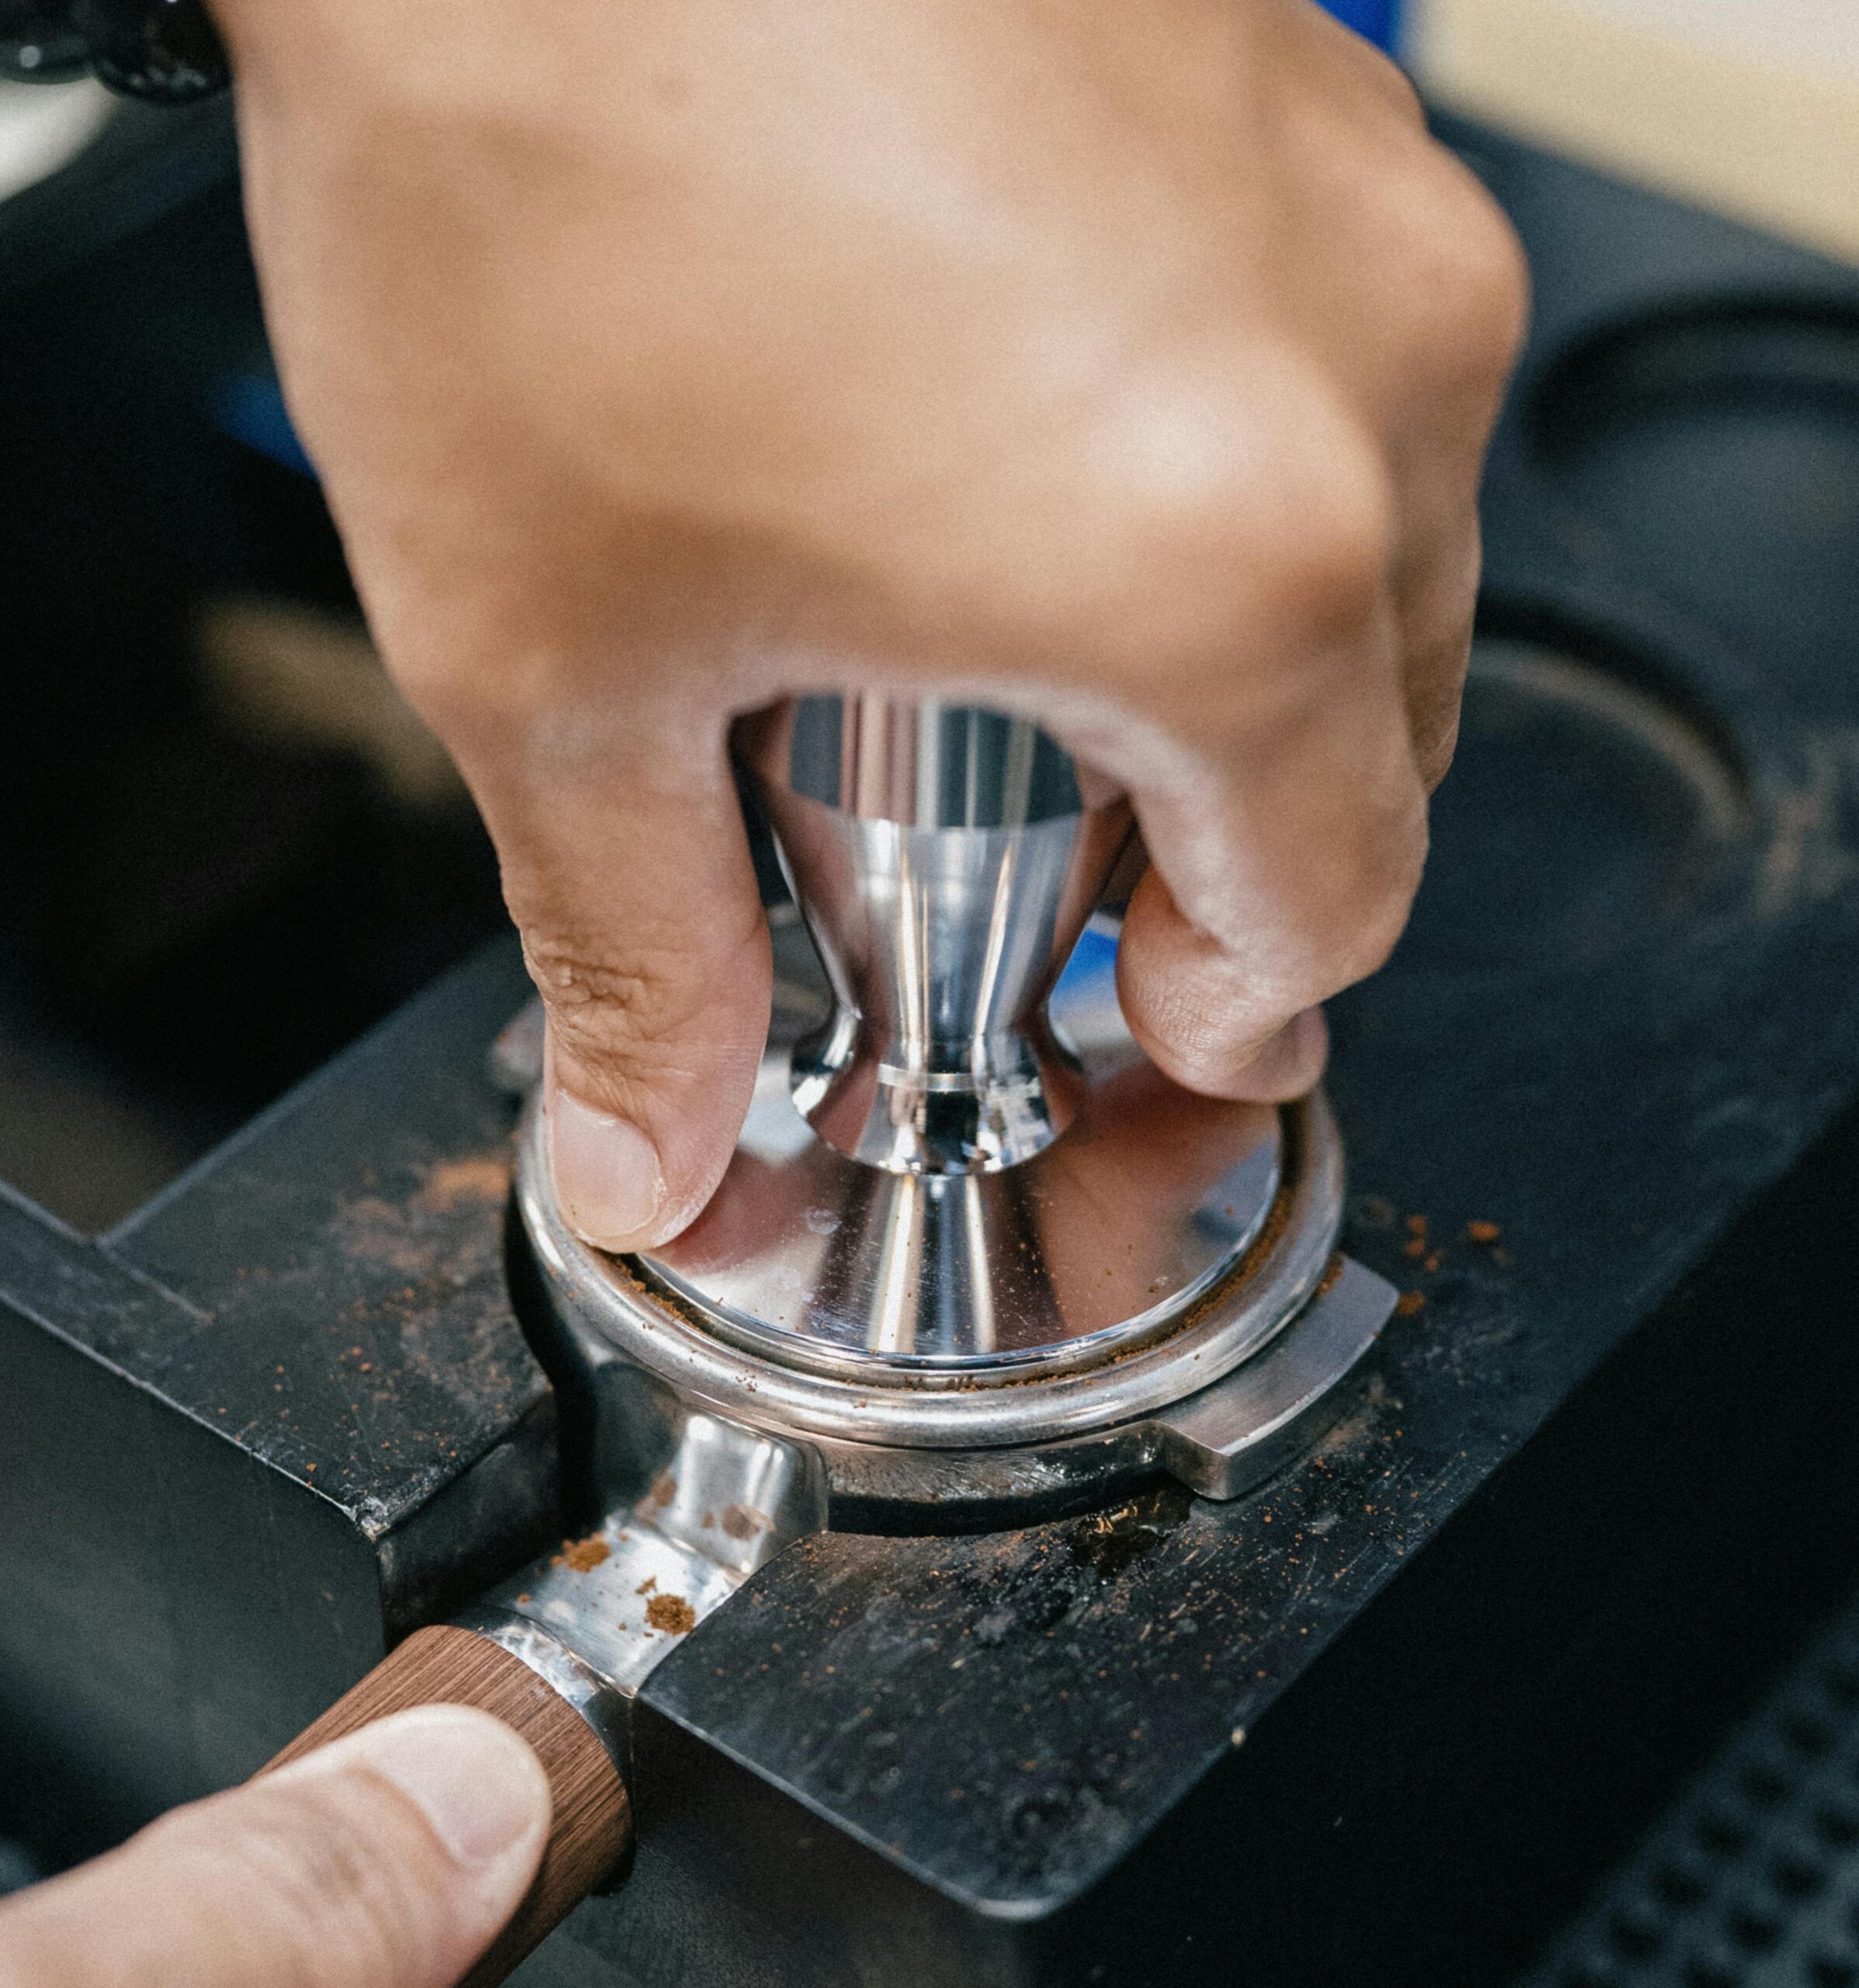
Without silky steamed milk and luxuriously dark espresso shots waiting, there’s little chance of pulling off some crazy latte art magic.
Check out just how important your espresso and steamed milk are here, as I discovered in my Quest for Coffee.
Anyways, if you are ready, here are my 5 best ways to practice latte art magic in my journey so far:
1. Break Latte Art Down
Break down the whole design into various parts. It’s counter-intuitive to break apart the well-crafted and enchanting design, but to learn, you have to see them as individual ‘strokes’ of your ‘paintbrush’.
Confused? Every pour you make is one stroke of a brush. These strokes add up quickly to form your magical design.
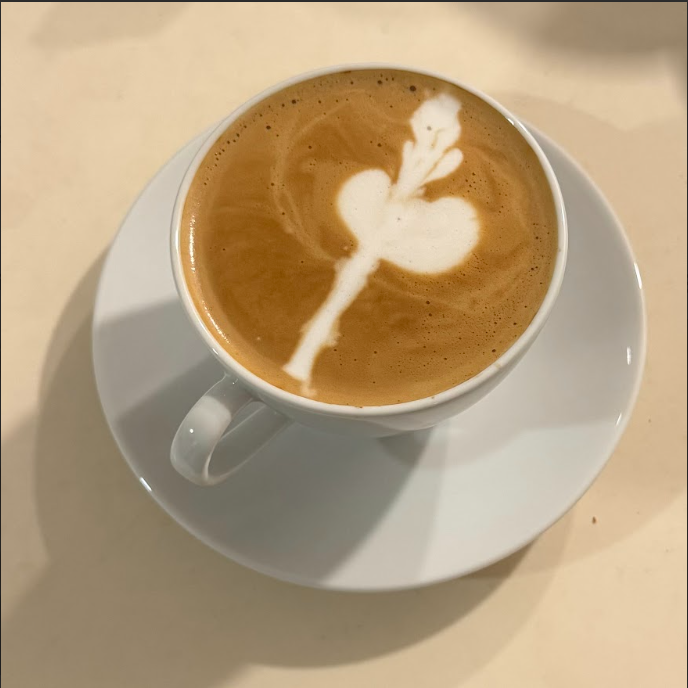
For a basic leaf or a flower design (they can be quite misleading sometimes), there are 3 main parts: the ‘base’, the ‘wiggle’ and the final ‘stem’.
The base is your foundation when you create the bottom part of the leaf/flower with solid white milk foam. Your spout of the pitcher must be close to the surface. Pour a controlled volume of milk quickly before then narrowing the flow of milk.
In the second part, the ‘wiggle’, is where the cool brown and white wave-like pattern occurs. Pour a smaller amount of milk than for the ‘base’ while swaying your pitcher from left to right in a stable manner.
I panicked once and my hand shook, which led to uneven patterns on the left and right sides of the design. Uncontrolled magic! This pour should be several seconds long to really drag out the pattern.
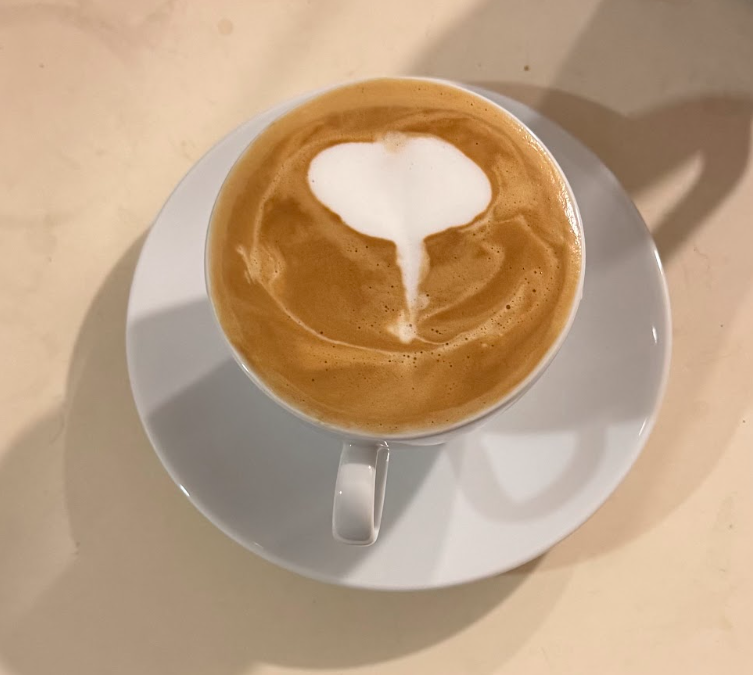
Of course, you can choose to pour a fully-filled white heart shape too and skip the swaying.
The ‘stem’ binds the whole lead/flower design together. Pour a narrow but continuous stream of milk from the top of the leaf down the middle and to the edge of the cup. Do not hesitate. I hesitated before and it led to wobbly and curvy stems. Uncontrolled magic again!
As you move from top to bottom of your design, the pitcher should move upwards, with its final position higher above your cup than the position at which it started.
2. Latte Art Needs Restraint
Stay restrained. Work with restraint. Do not give in to the internal pressure to pour quickly like those pro-looking magical baristas.
Speed of pouring comes naturally. My pours in each phase of the design required different strengths and finesse over the pitcher, which you can only learn through experience by feeling and doing.
This takes control, not speed. I had to restrain myself from pouring all my milk quickly to create absolutely nothing.
If you need a pause between the phase of the design, take it.
Usually, I would pour the base first, make sure I got the white base formed first and lift up the pitcher. After that, I would begin the next pour to create the wave-like pattern. I usually remind myself to leave enough room in the cup and enough milk to pour that final thin stream for the “stem”.
3. Intentional Practice
Nothing beats intentional practice.
To try and try again in spite of all the failures to master that one “stroke”, be it the “base”, the “stem” or the “wiggle”.
Sometimes, in each practice cup of coffee, there may be a really solid “base”, or a cool and stable wave-like pattern, or both!
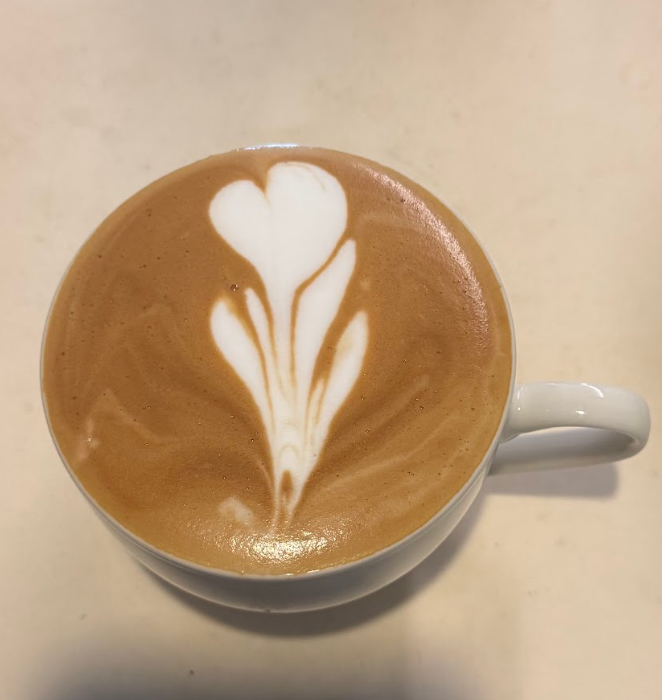
It takes many tries to perfect all 3 “strokes”. My results were and still are lacklustre when it comes to the “stem” (just see below) but there are improvements in the “wiggle” and the “base”.
It may not all come together at once. It has not for me. But that’s normal because every latte art magic design has several parts and “strokes” to it that requires great finesse.
Stay resilient and keep pouring with intention. Keep reminding your mind and hand to act intentionally with each pour and not pour under psychological pressure 🙂
4. Be Messy
You ever see those pro baristas with their magic latte art design while looking cool and calm, with no spills in that nearly-overflowing cup of coffee?
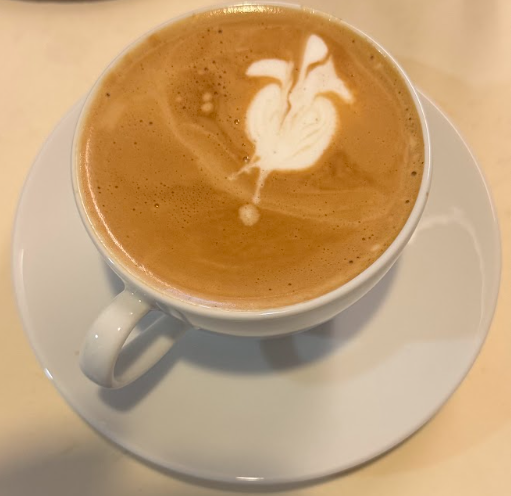
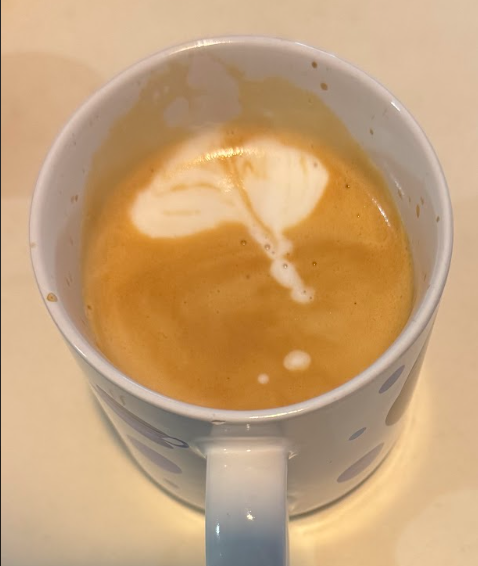
I am the guy with all the spills, errors and shaky hands. I literally dragged the side of my milk pitcher along the surface of my design because the pitcher was that close to it that they were in fact in contact! Just see this wing-shaped distortion of a design:

Suffice to say, that was not very magical.
But it’s ok to be messy and spill some milk and coffee over the counter when pouring and learning. I realised I was not tilting my espresso cup enough as I wanted to avoid spilling.
This meant I had a smaller surface area of coffee to practice my magic, and it made it much harder for the spout of the pitcher to be close to the surface of the coffee.
Just go for the tilt and the pour despite being inexperienced.
Don’t be afraid to drip some milk on the counter when trying that long final pour for the “stem”. It’s fun to just try.
5. Study Your Magic Latte Art Design Closely
How would you know which part of the pouring to work on? With the different “strokes” and breakdown of the whole design, you can start nitpicking and decide which “stroke” or part you want to focus on.
To do so, you have to start examining the weaker spots in your own latte art design.
I started trying to work on the “wiggle” and the “stem” more because I always panic once the cup is near fully filled.
Through taking pictures and intentionally practicing each “stroke” in each cup of coffee made, I saw how my hands shake and how I usually panic toward the end. It is far more important to know what to practice pouring than simply pouring.
Try taking a bunch of photos like me and track your own progress. You might see the improvement trend and you would have documented the whole journey of mastering latte art magic. Wonderful!
Bonus – 6: Read Coffee Blogs like Quest for Coffee
I said there were 5, but here is a bonus way to improve: just read coffee blogs and learn from other people. Sneaky but smart, no?
Now, I have read several coffee articles and many of James Hoffman’s videos. It takes knowledge and practice to attain mastery, especially for something as tricky as latte art magic.
Not only do you need a slow and delicate hand movement to control both the cup and pitcher, it also takes courage and patience to keep trying despite poor results.
Seeing how other people have done it and mimicking their movements to fit my comfort has helped with creating my own style and rhythm of drawing and creating my magical latte art design.
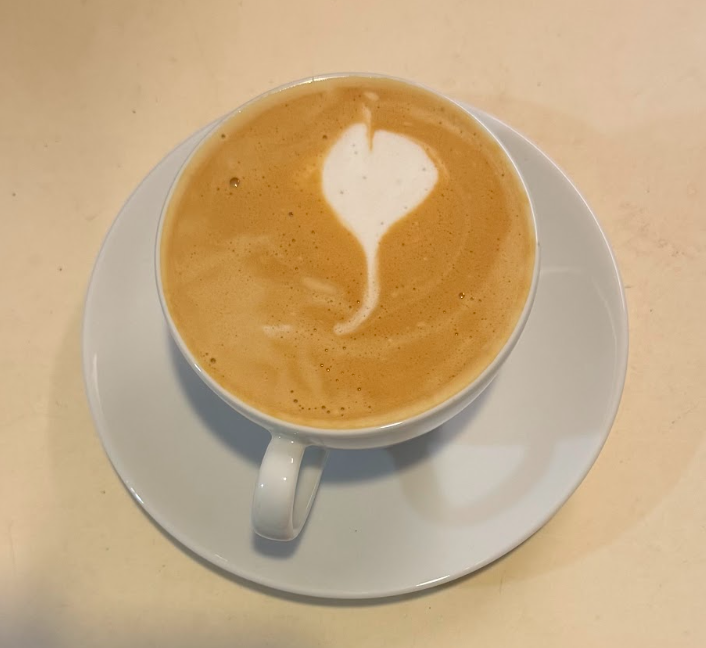
I hope that sharing my progress and providing 5 ways to improve your latte art skills can help you in your mastery. The road ahead in my Quest for Coffee is still long.
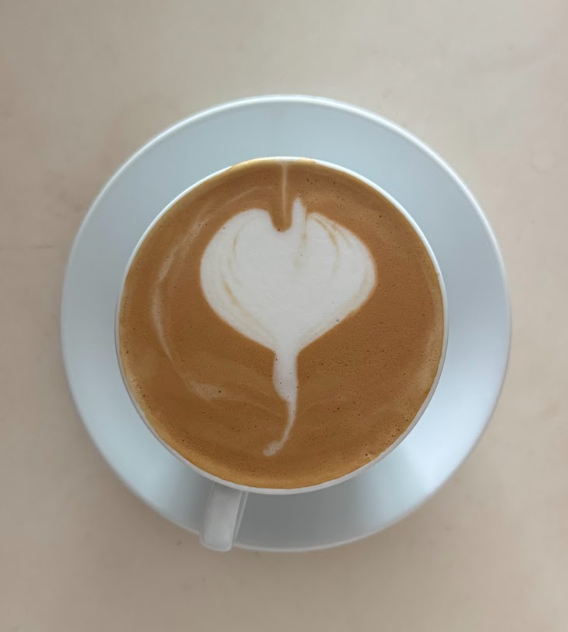
But for now, here’s the latest leaf/flower:

Click below for more adventurous updates in my Quest for Coffee


Click below to see other serendipitous stories!