Quest for Coffee (9) | Pouring A Latte Art Flower
I remember the first time I searched ‘How to Pour Latte Art Flower’ on YouTube. It sure feels like a long time ago, but really it’s only around 3 months ago. Well, I am relieved and excited to say that progress has been made in those 3 months. Oh, the progress and pains.
Getting to Pouring Latte Art
In the last few Quest for Coffee updates, you would have seen my struggles and realised that pouring latte art is a magic easier said than done. If not, check it out here! I promise it’s not a complete gallery of excellent latte flowers and spectacular designs – it’s me stumbling through the failures in pouring magical latte art.
So, I stopped the pattern of watching YouTube videos on pouring latte art. I just slowly found that it’s not all that useful now that I know practice is the key ingredient instead of knowledge.
Practicing and pouring those pitchers of steamed milk have done me more good than seeing the same guy on YouTube pour a magical flower or heart. I want to master the magic of pouring latte art, not watch someone else show off his magical skills.
We’re all fans of consuming edu-tainment (educational entertainment). I know, it’s easy to see those baristas pour mesmerising magical flowers. But it’s not you. It’s not me.
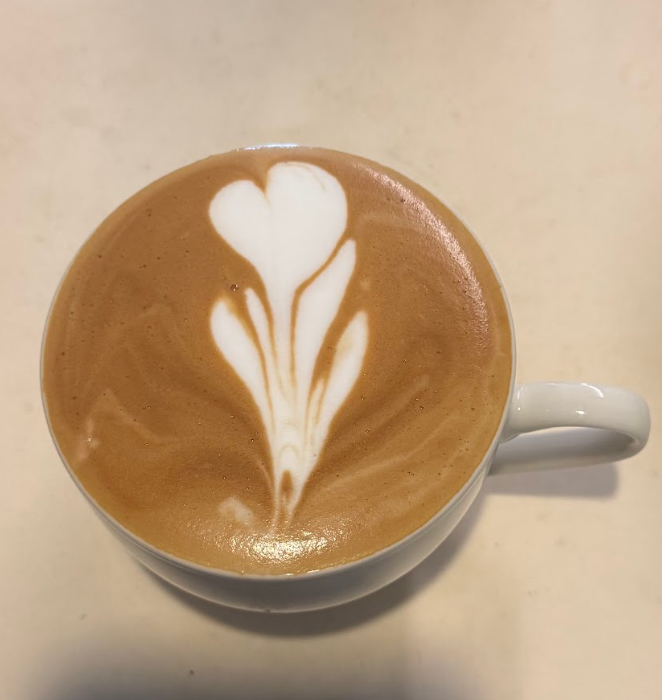
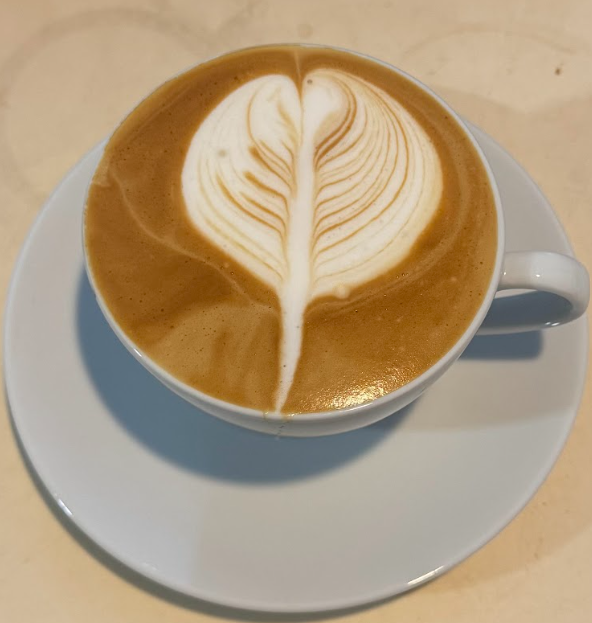
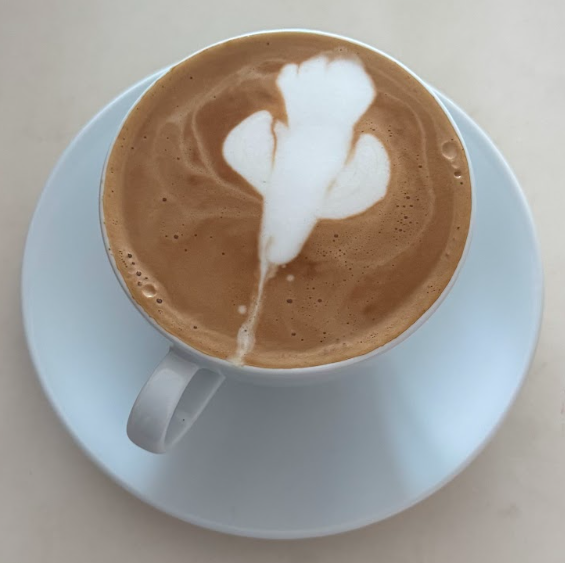
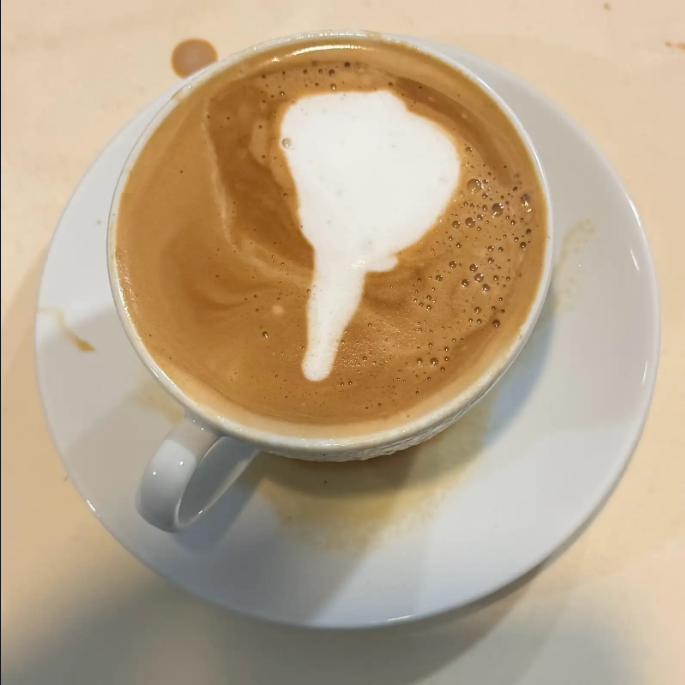
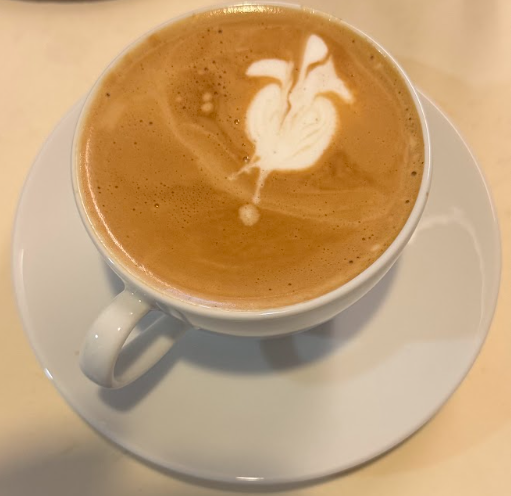
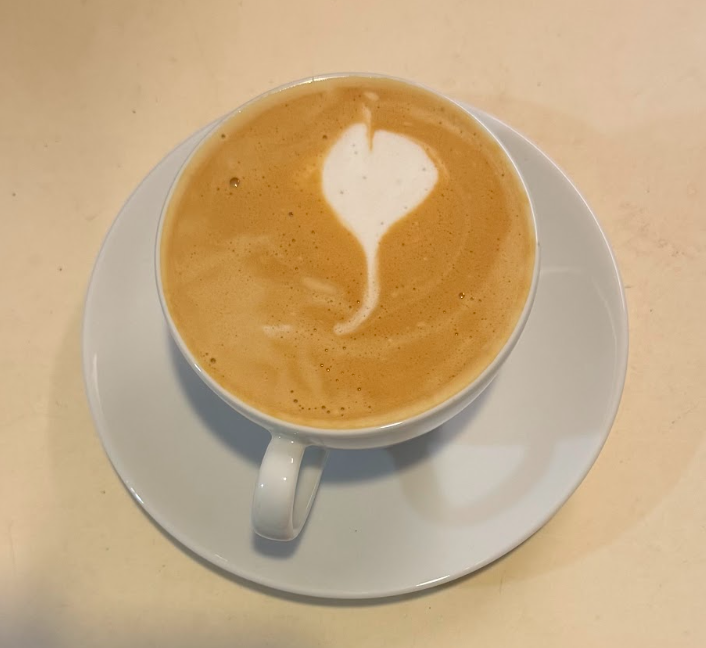
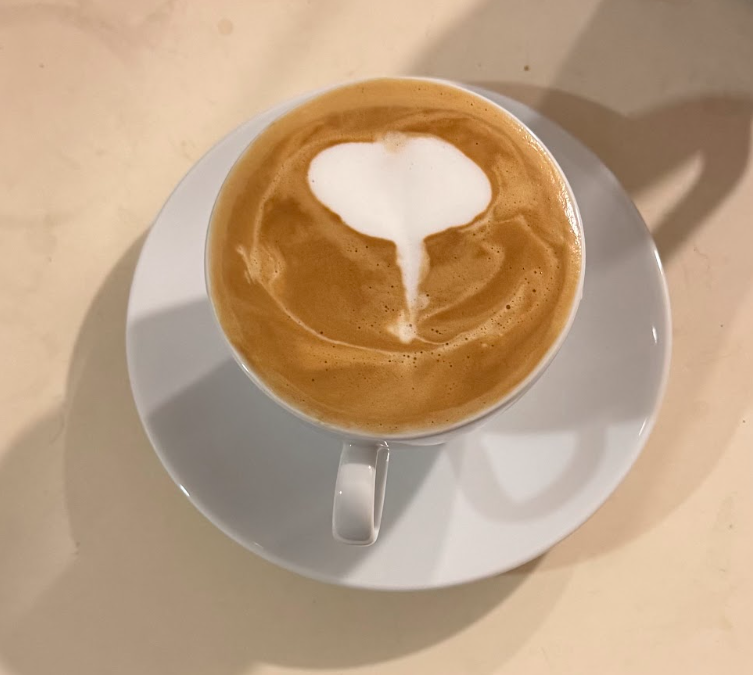
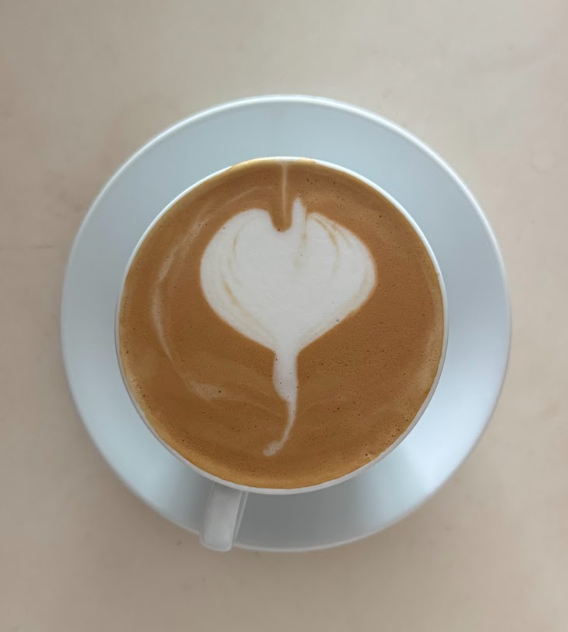
The Progress
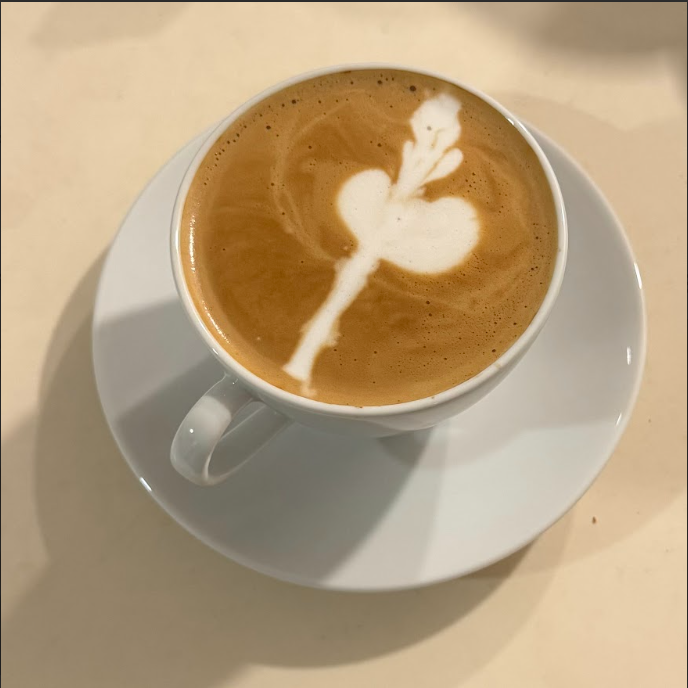
Anyways, the bar has been elevated. From a heart-like shape to a leaf-like design, here’s the proverbial bar.


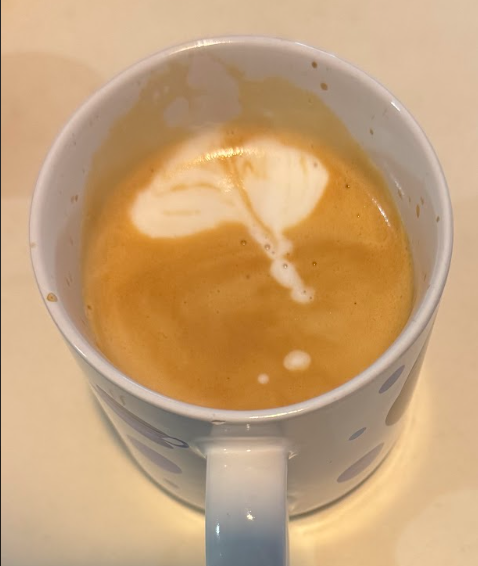
The Pains
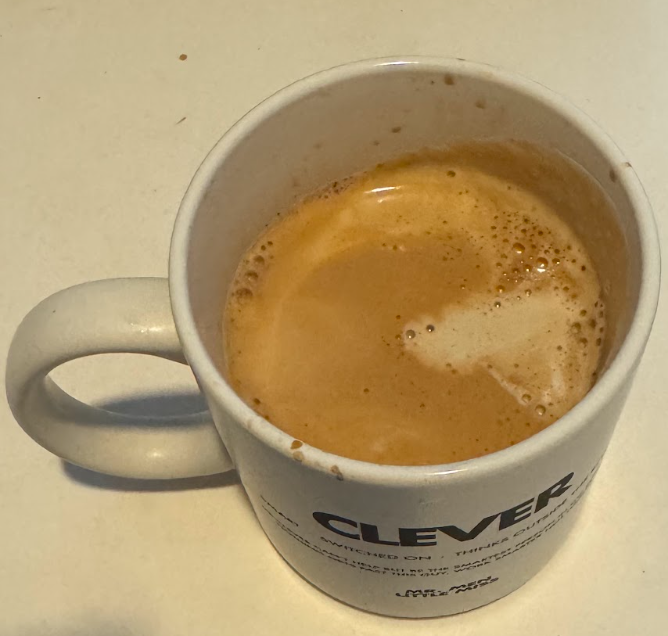
But now, the pains – the successful pouring of magical latte art designs don’t happen linearly. It isn’t a straight line of progress. (Believe me, it’s a nasty, volatile roller-coaster curve that ideally trends upwards.)


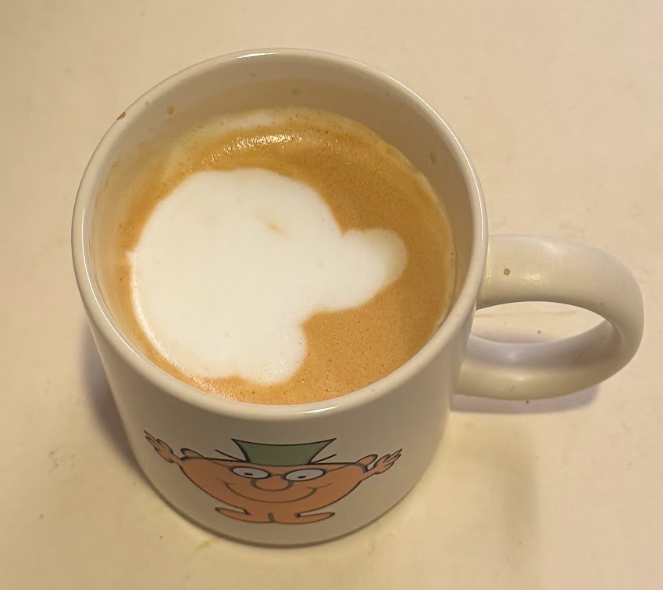
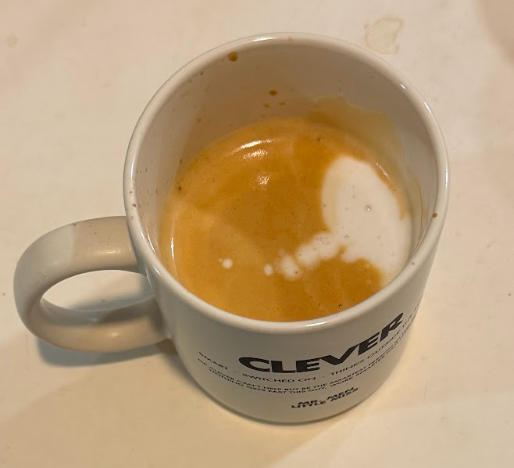
An interesting observation is that a part of the design may have been good even if the whole design was ugly.
The wave-like patterns were obvious in the center picture despite the distorted shape. The contrast and texture of the left image is beautiful despite the lack of detail and poor structure of the heart.
My time spent practicing latte art magic has been rather fruitful, though sometimes frustrating. That said, all things worth trying and failing would always be frustrating at times right?
As a quest-like hobby, it’s been an exciting endeavour to try and create that flower and heart. It’s not for the impatient, this latte art magic, but for those seeking some therapy in creating a delightful and beautiful cup of coffee.
Don’t expect some easy wins.
I can’t imagine how many tries pro baristas have had just to nail one design to the tee. And certainly, they didn’t get there by being addicted to those baristas pouring latte art on YouTube.
What’s the Golden Ratio for Coffee?
Recently, I have also begun weighing my beans! I know, it’s like a ‘pro’ barista or connoisseur thing to do.
But honestly, it’s quite helpful as a measure for beginners to judge whether the input and output ratio for your espresso is right.
The rule of thumb is a 1:2 ratio for coffee beans to liquid espresso. 18g of beans should give 36g of espresso liquid. If your machine doesn’t automatically calibrate to produce this ratio, it’s time to play espresso-engineer.
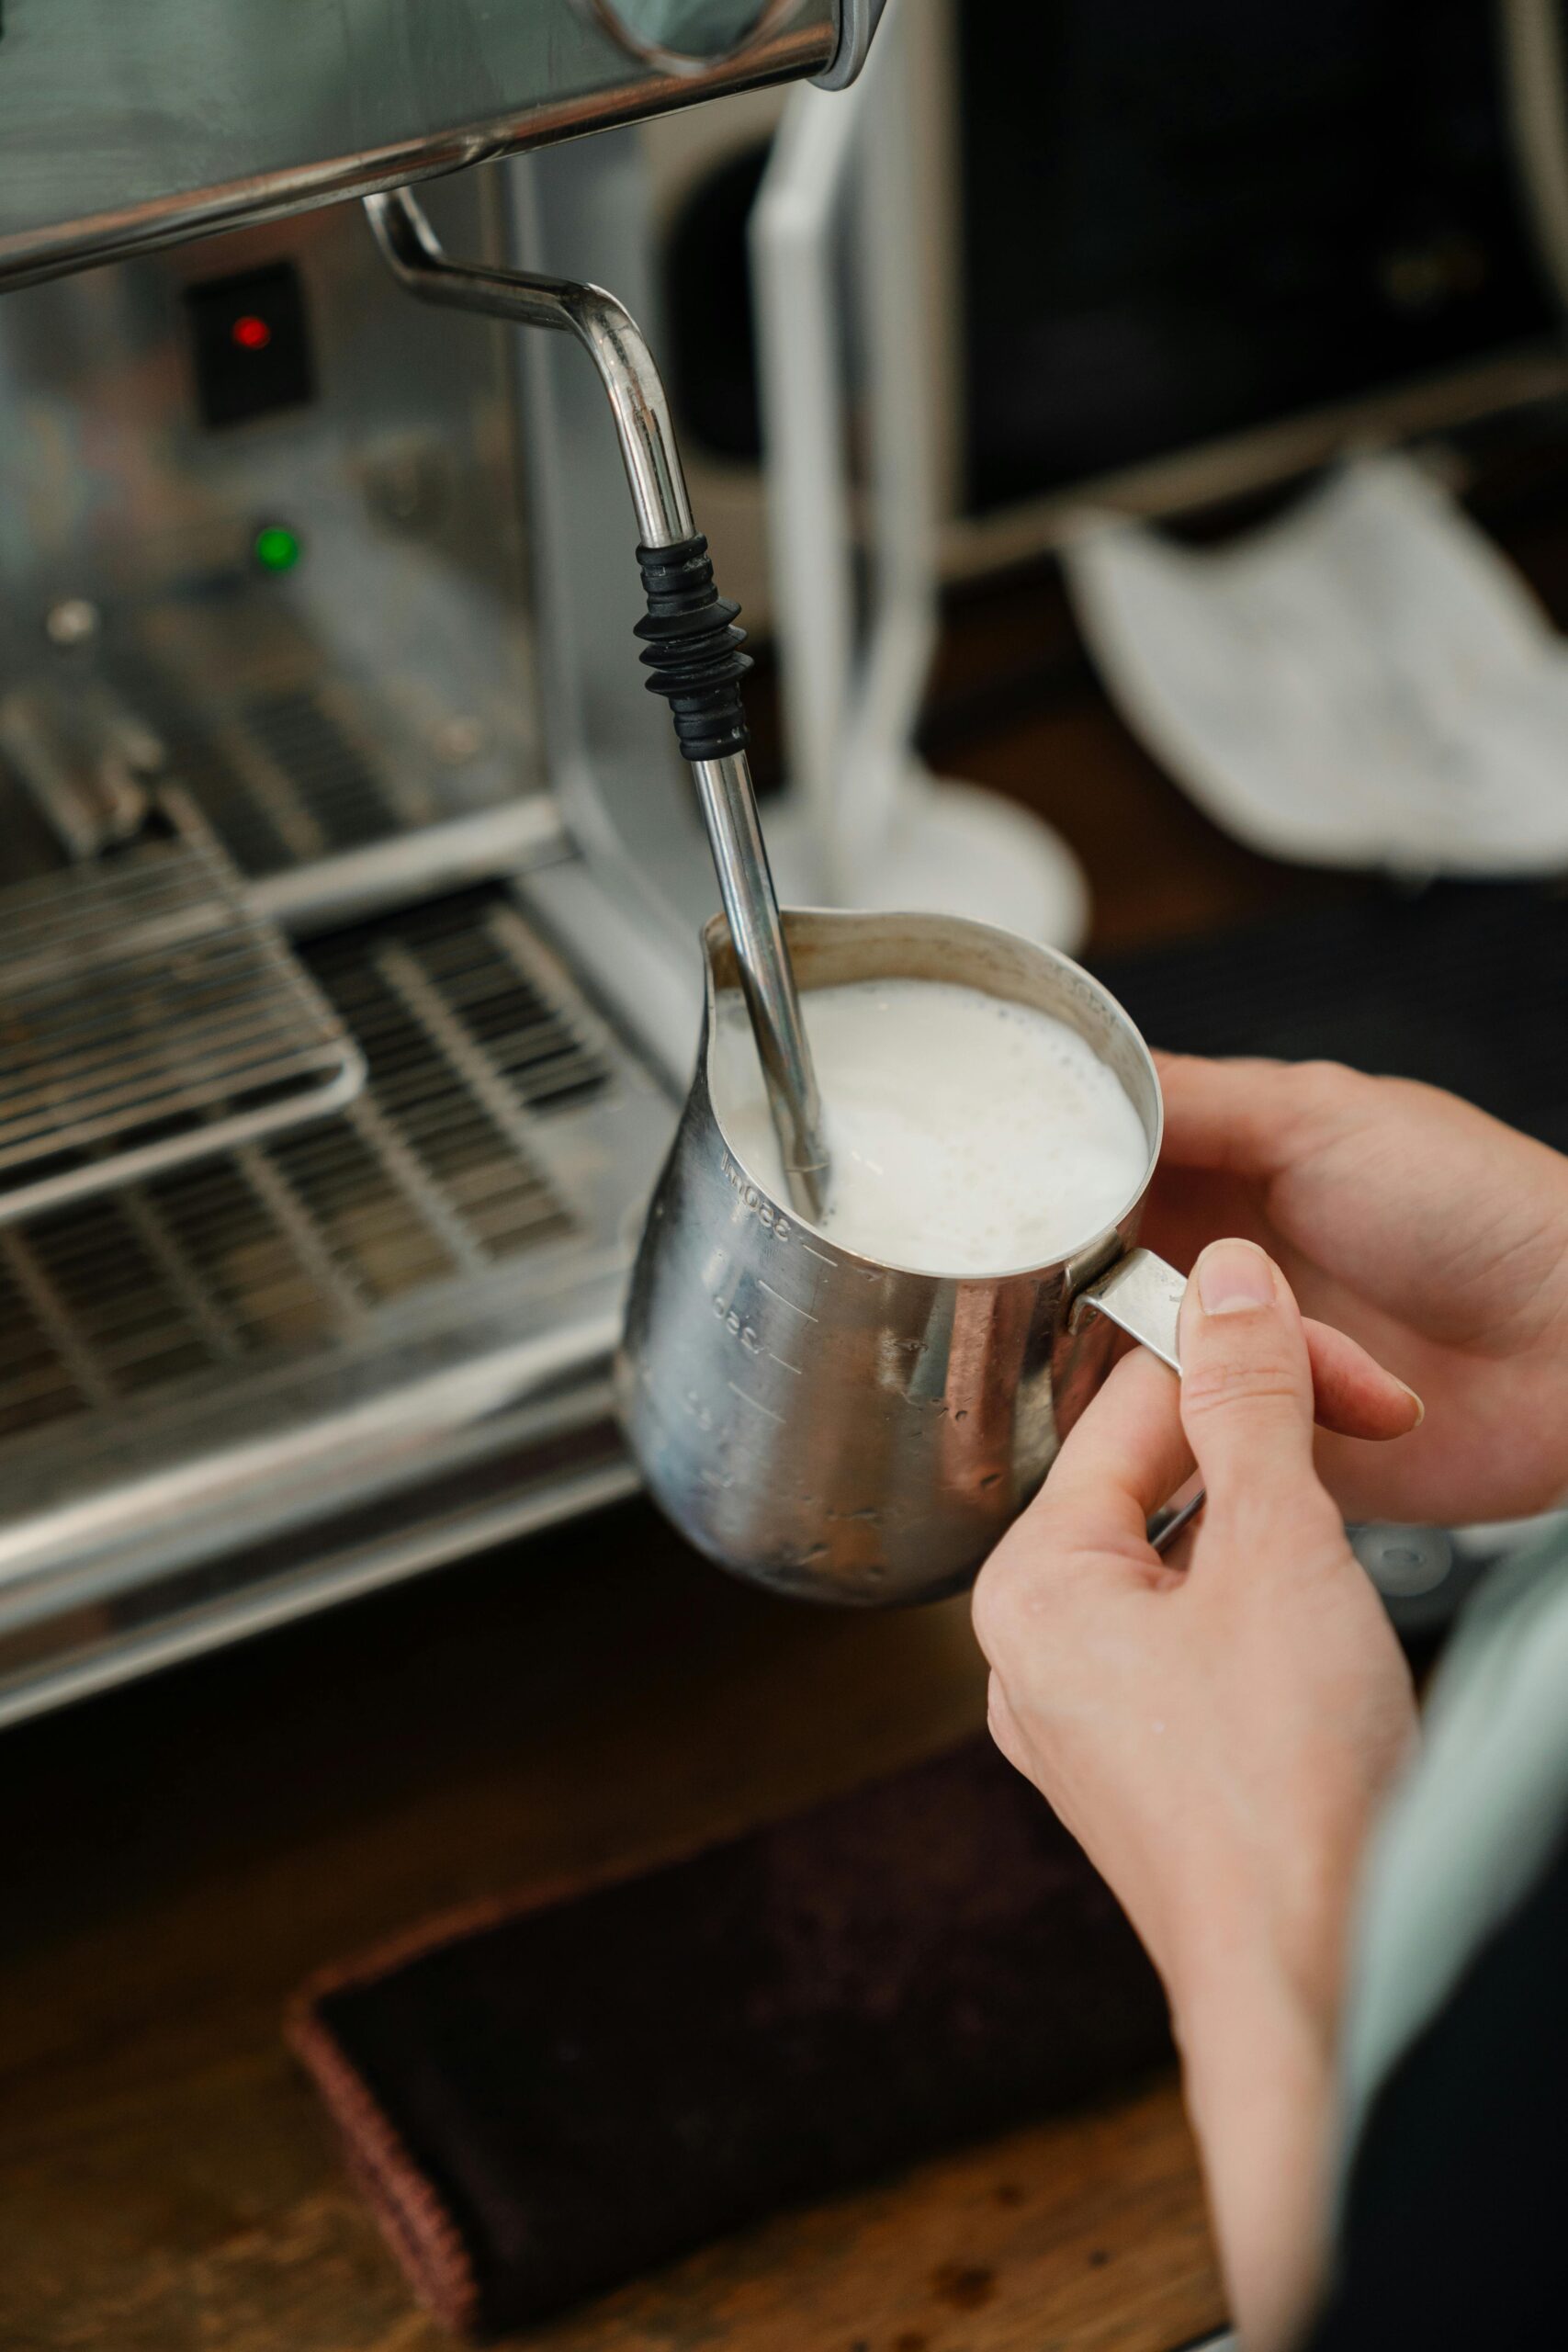
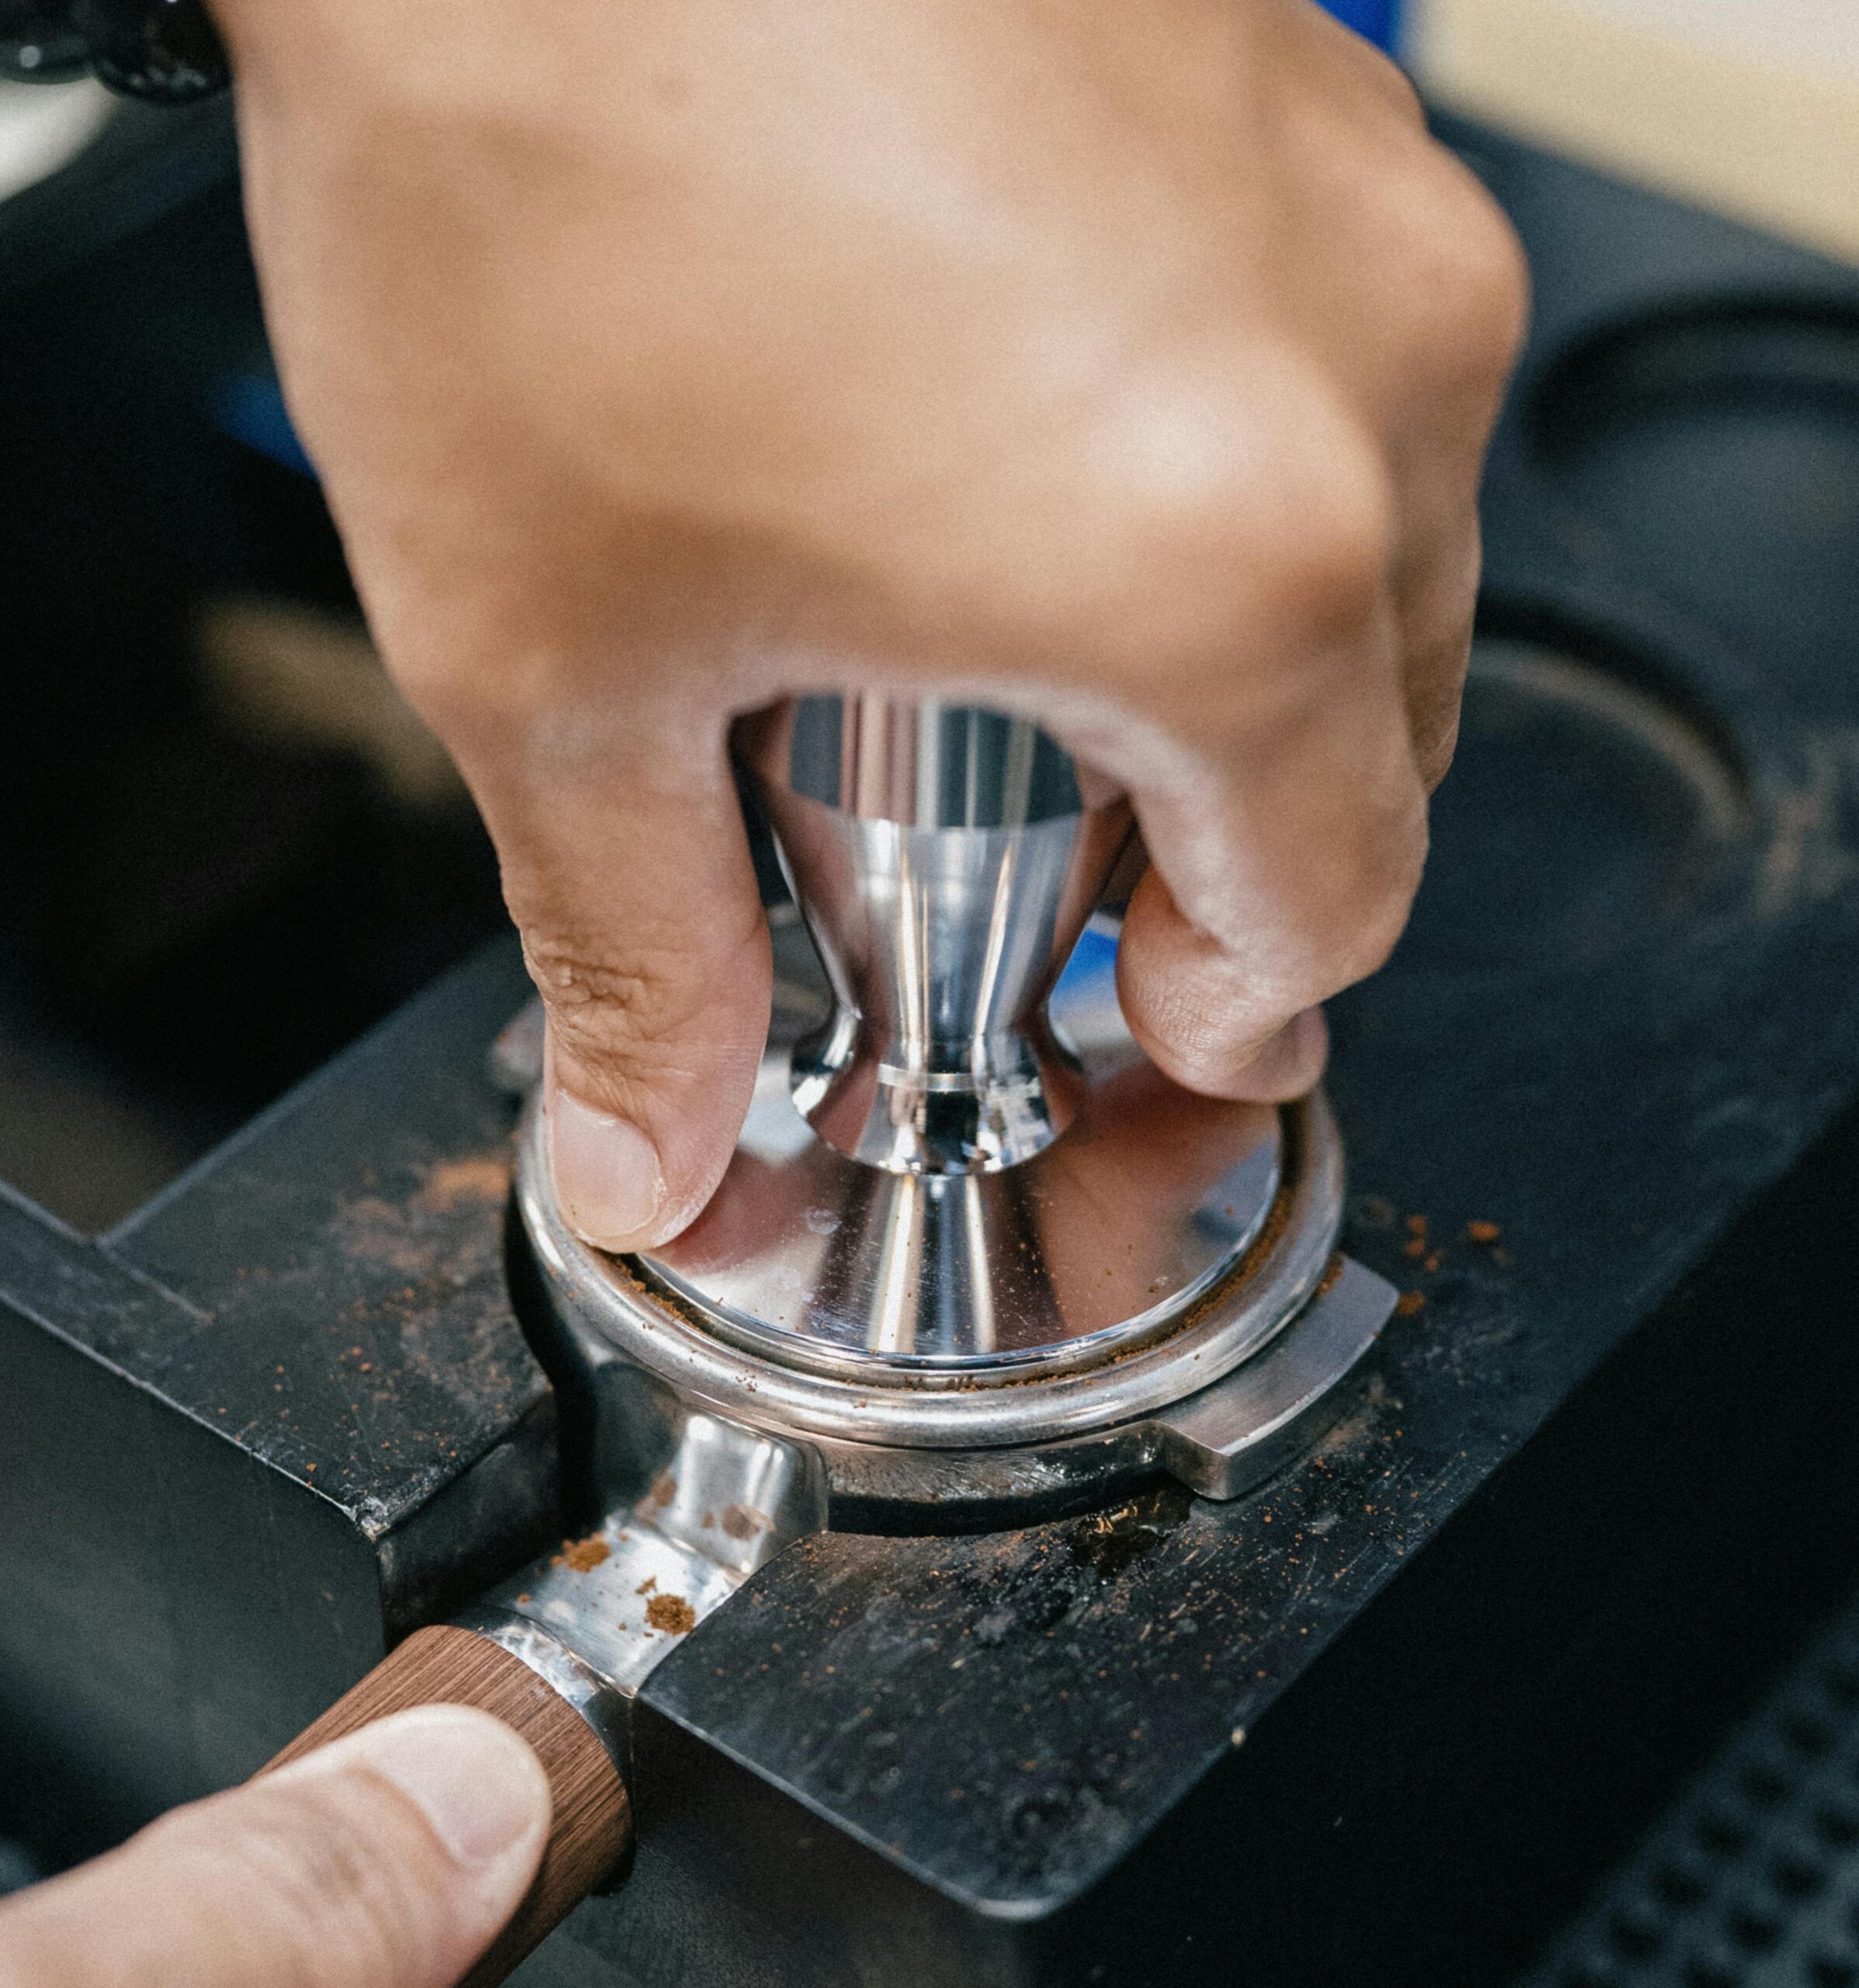
In very layman steps, take a scale and weigh 18g (for a double shot). Grind it and tamp it in the portafilter. If you need some help with that, check out this quest update from me!
Now, let the machine do the rest and pull the shot. If the grind size (how fine the grounds are) and dosage (the weight/amount of grounds) are well-calculated and paired, the whole shot should be pulled in 25 – 30 seconds.
The Rewarding Result of the Ratio
Just looking at the liquid flow out would give you that internal gut satisfaction which tells you ‘yes it’s correct’. (At least I felt it)
It’s a rewarding result to see happen because you nailed all the steps before the machine did the work and produced the desired output ratio.
Too much liquid – this means insufficient coffee beans (dosage) or too coarse a grind size of beans (grind size). In general, James Hoffman recommends the dosage be altered before the grind size as the latter takes longer to refine and effectively change the outcome.
I have always played around with the dosage when my espresso spurted out without that ‘silky honey-like’ texture. It’s far easier to weigh the beans differently than fix the grinder.
Too little liquid – this means too much coffee grounds (dosage) or too fine a grind size of beans (grind size). Again, let’s play espresso-enginner and alter the dosage before the grind size. I reduced the weight of beans (to 16g/17g) and clocked the shot under 30s. All good!
Practice and Pour Latte Art
Having a great espresso shot waiting for you to practice your magic and pour latte art flowers and hearts over it is half the battle won. Of course, the volume of milk and the ratio to espresso determine your final drink, but it has little bearing over your ability to pour latte art like magic.
You can play with the size of your cup and the milk needed to fill it.
Practice and practice. Pour and pour. Latte art magic doesn’t come instantly or magically, ironically.
‘We are what we repeatedly do. Excellence, then, is not an act, but a habit.’
– Aristotle
I look forward to one day mastering the volume of milk and mastering various magical latte art designs for different drinks. Hopefully, it’ll be a far cry from my novice days of coffee catastrophe.
Ok, so there’s the latest update in my quest. It isn’t rainbows and sunshine. You and I know quite well that the work ahead has been cut out for me. Progress and pains indeed.
Click below for further adventurous updates in my Quest for Coffee